

How To Install A Corsair Water Cooler
How to Install a Waterblock on a GPU: Liquid Cooling Your Graphics Menu

If yous're contemplating edifice a liquid-cooled PC with a full custom loop, you'll have to determine at some point whether to buy a graphics card with a waterblock pre-installed, or opt for a normal carte du jour and install the waterblock yourself.
There are pros and cons to taking each road. For instance, a GPU with a pre-installed waterblock is guaranteed to keep its warranty. But there's more satisfaction in doing it yourself, and you lot'll have the hazard to pick a waterblock that matches the residual of your organisation.
Today, we're showing you the basics of how to install a waterblock on a graphics card. While the disassembly of expensive components can be intimidating, it's not as complicated or scary as it may seem.
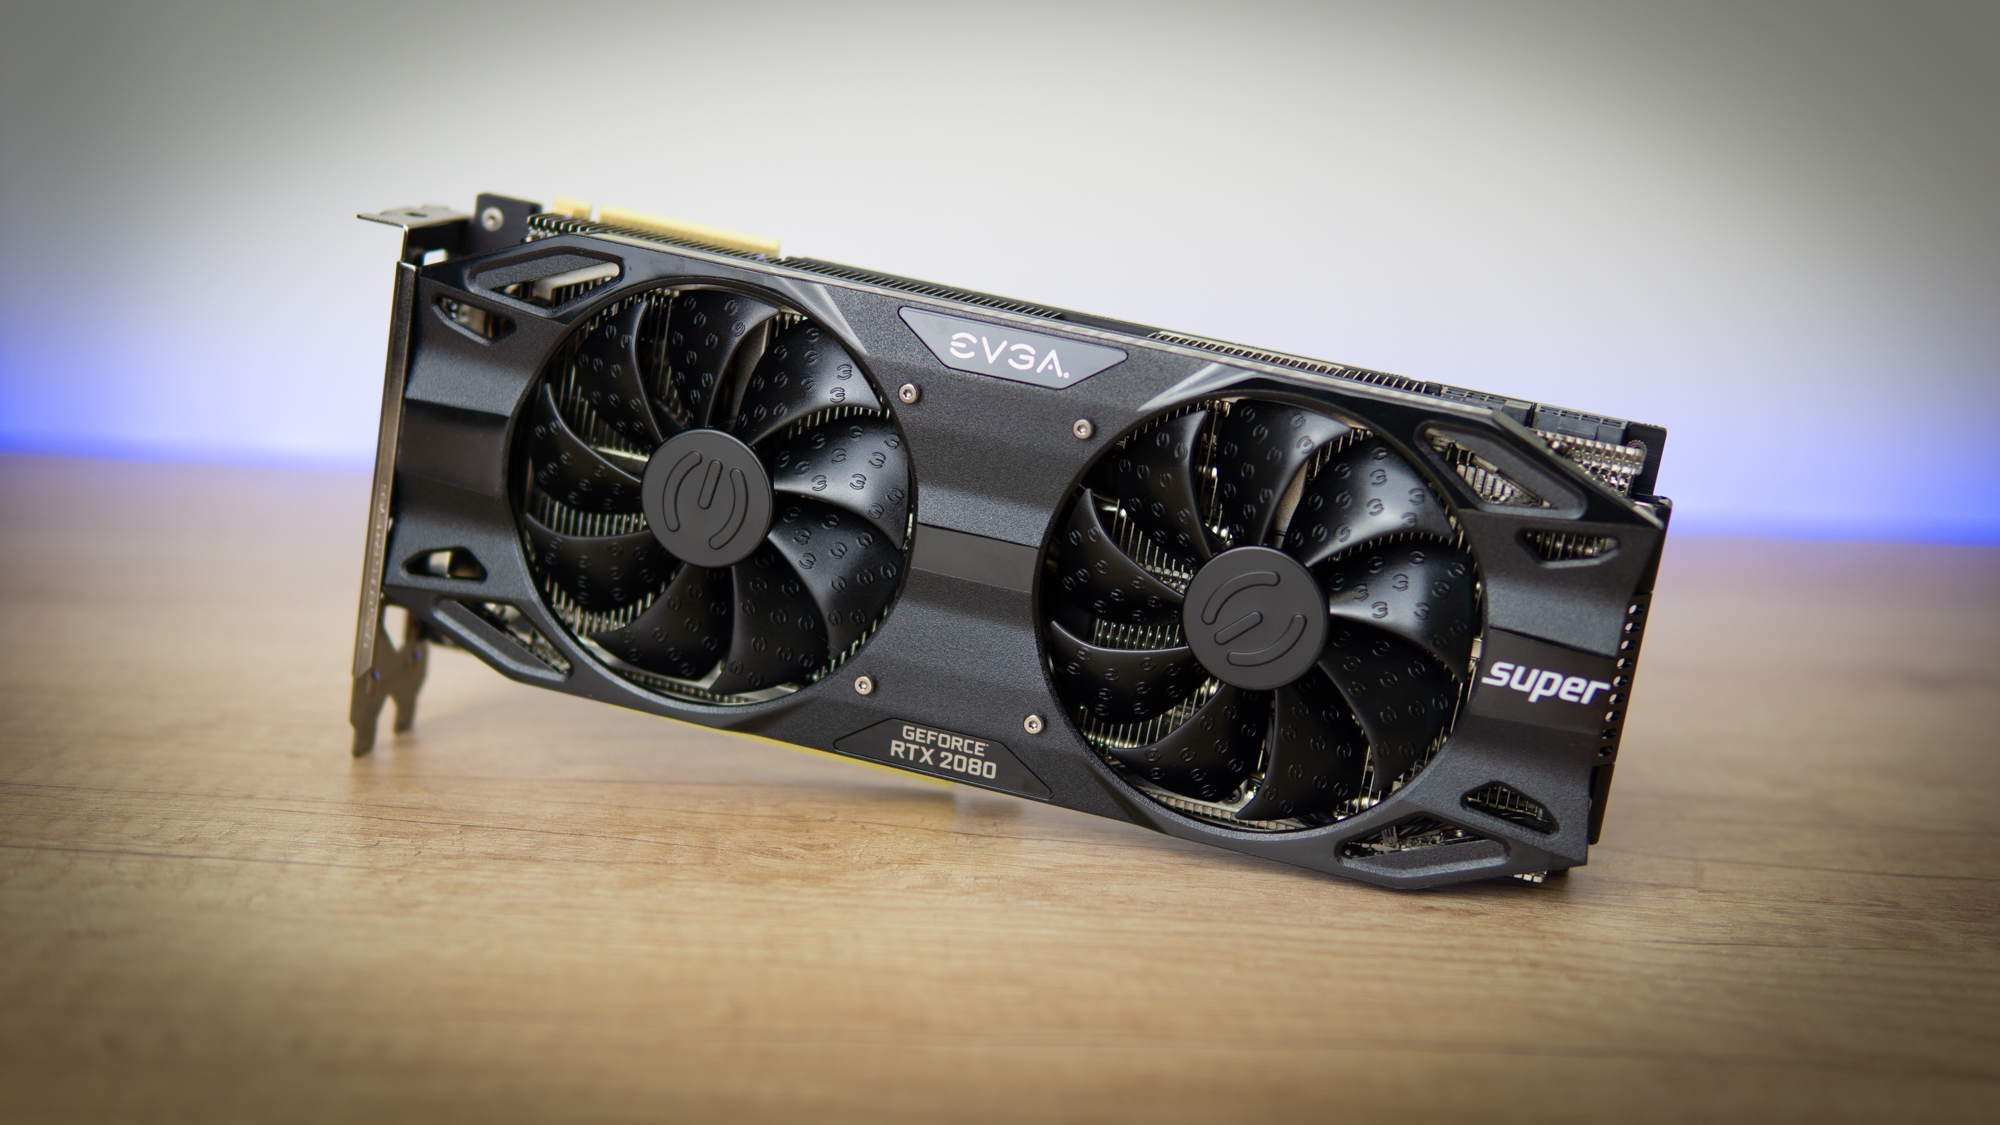
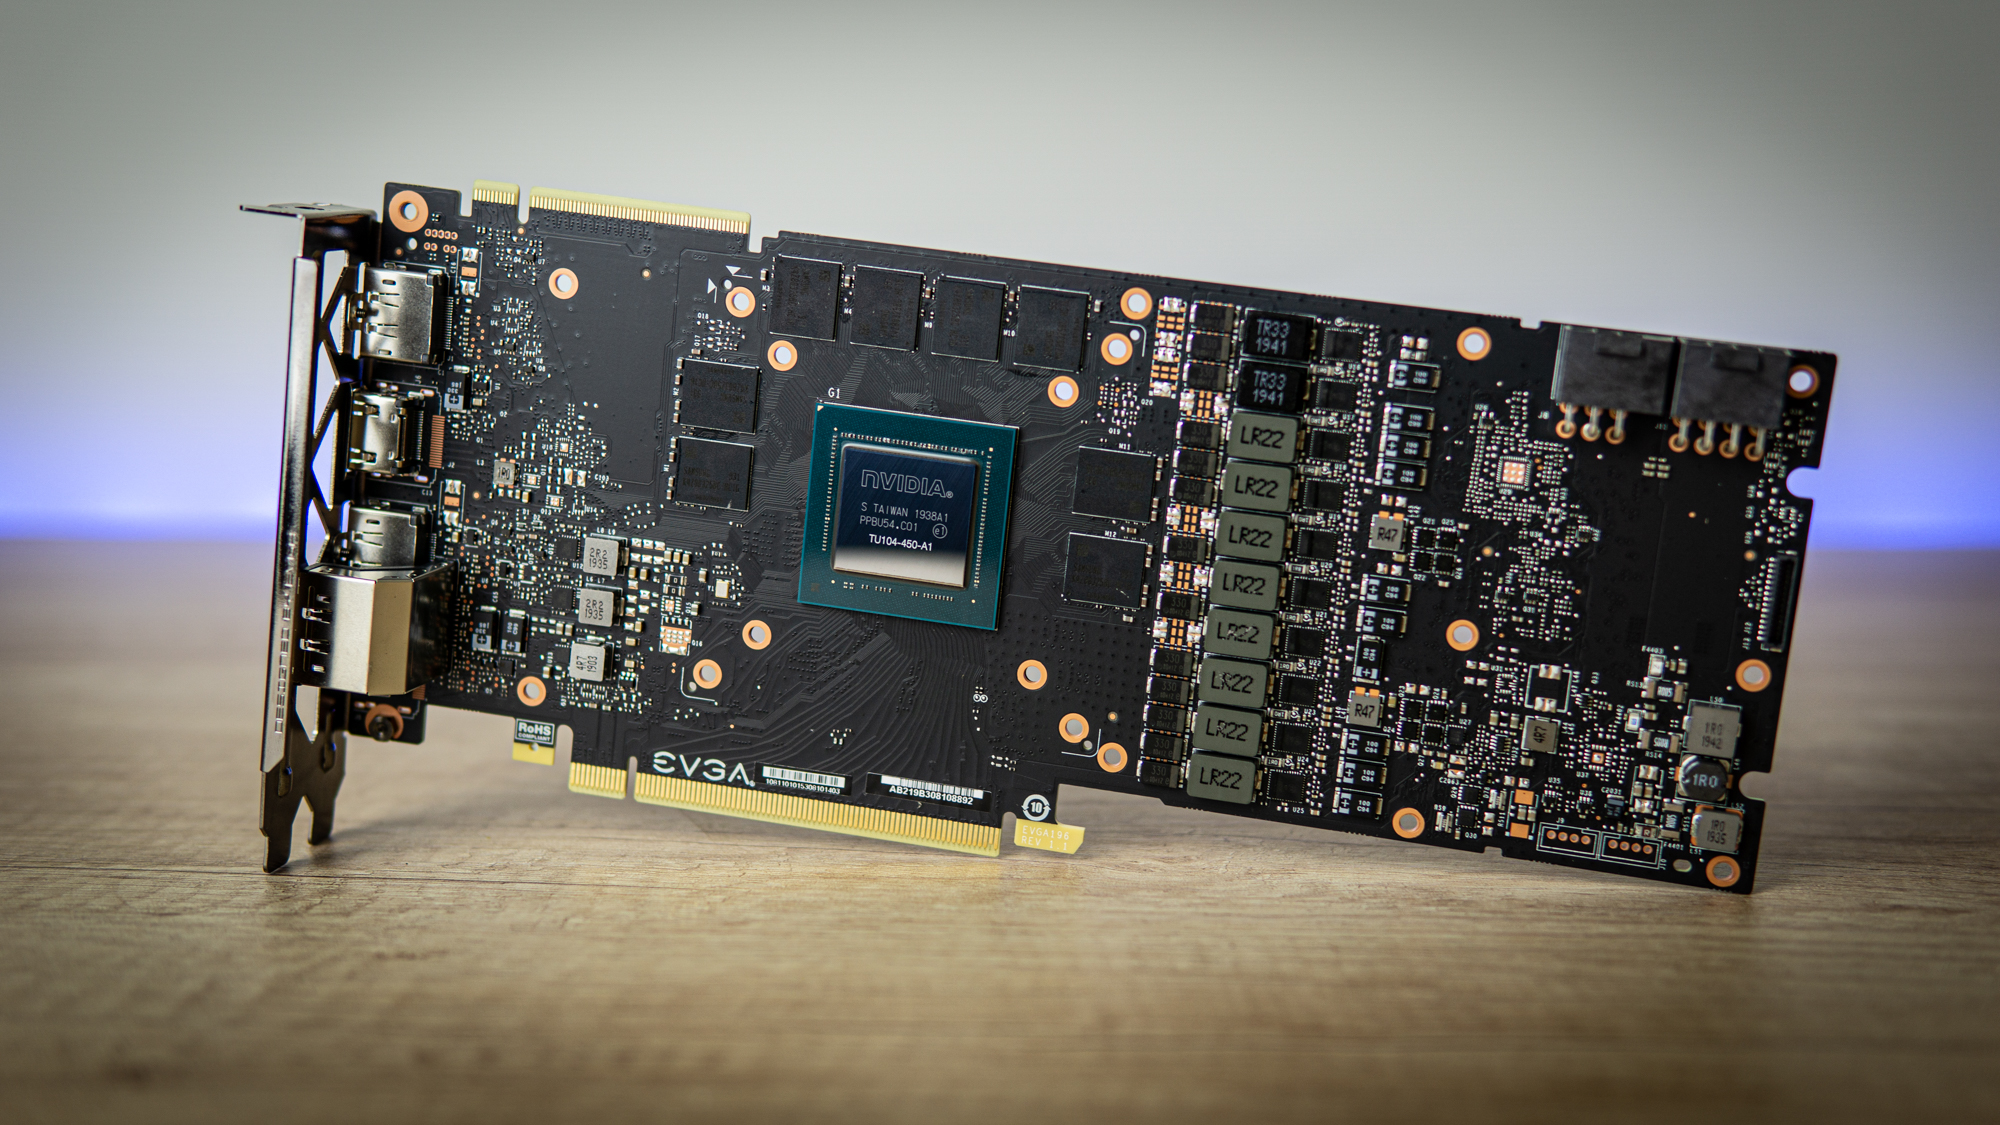
The graphics card we're using is the EVGA RTX 2080 Super Gaming Black. This card features a reference design PCB (as designed past Nvidia), merely comes with a less-expensive cooler than the Nvidia Founders Edition card, making information technology a great contender for installing a waterblock, every bit we're ditching the included cooler anyhow.
For this process, you'll want to exist set up to spend an hour to xc minutes. Equally long equally you're patient and have your fourth dimension, chances are nothing volition go wrong.
1. Test Your Graphics Carte
We can't stress this enough: When you're installing a waterblock on a graphics card, y'all're going to want to make sure the card is working earlier you start the process. Technically in most countries, a manufacturer isn't allowed to void your warranty if you remove the stock cooler and supervene upon it with a waterblock, but we all know that having a right doesn't mean you'll get warranty coverage without a protracted fight. Practice yourself a favor and make sure your GPU works before you tear it apart.
Better notwithstanding: Run some GPU benchmarks to see how your graphics bill of fare is performing. In this example, you lot'll want to use a tool like MSI Afterburning or GPU-Z to log details on your GPU clocks and temperatures, forth with capturing actual operation via some other utility similar OCAT. You should see a substantial drib in temperatures with liquid cooling.
ii. Disassembling Your Graphics Card
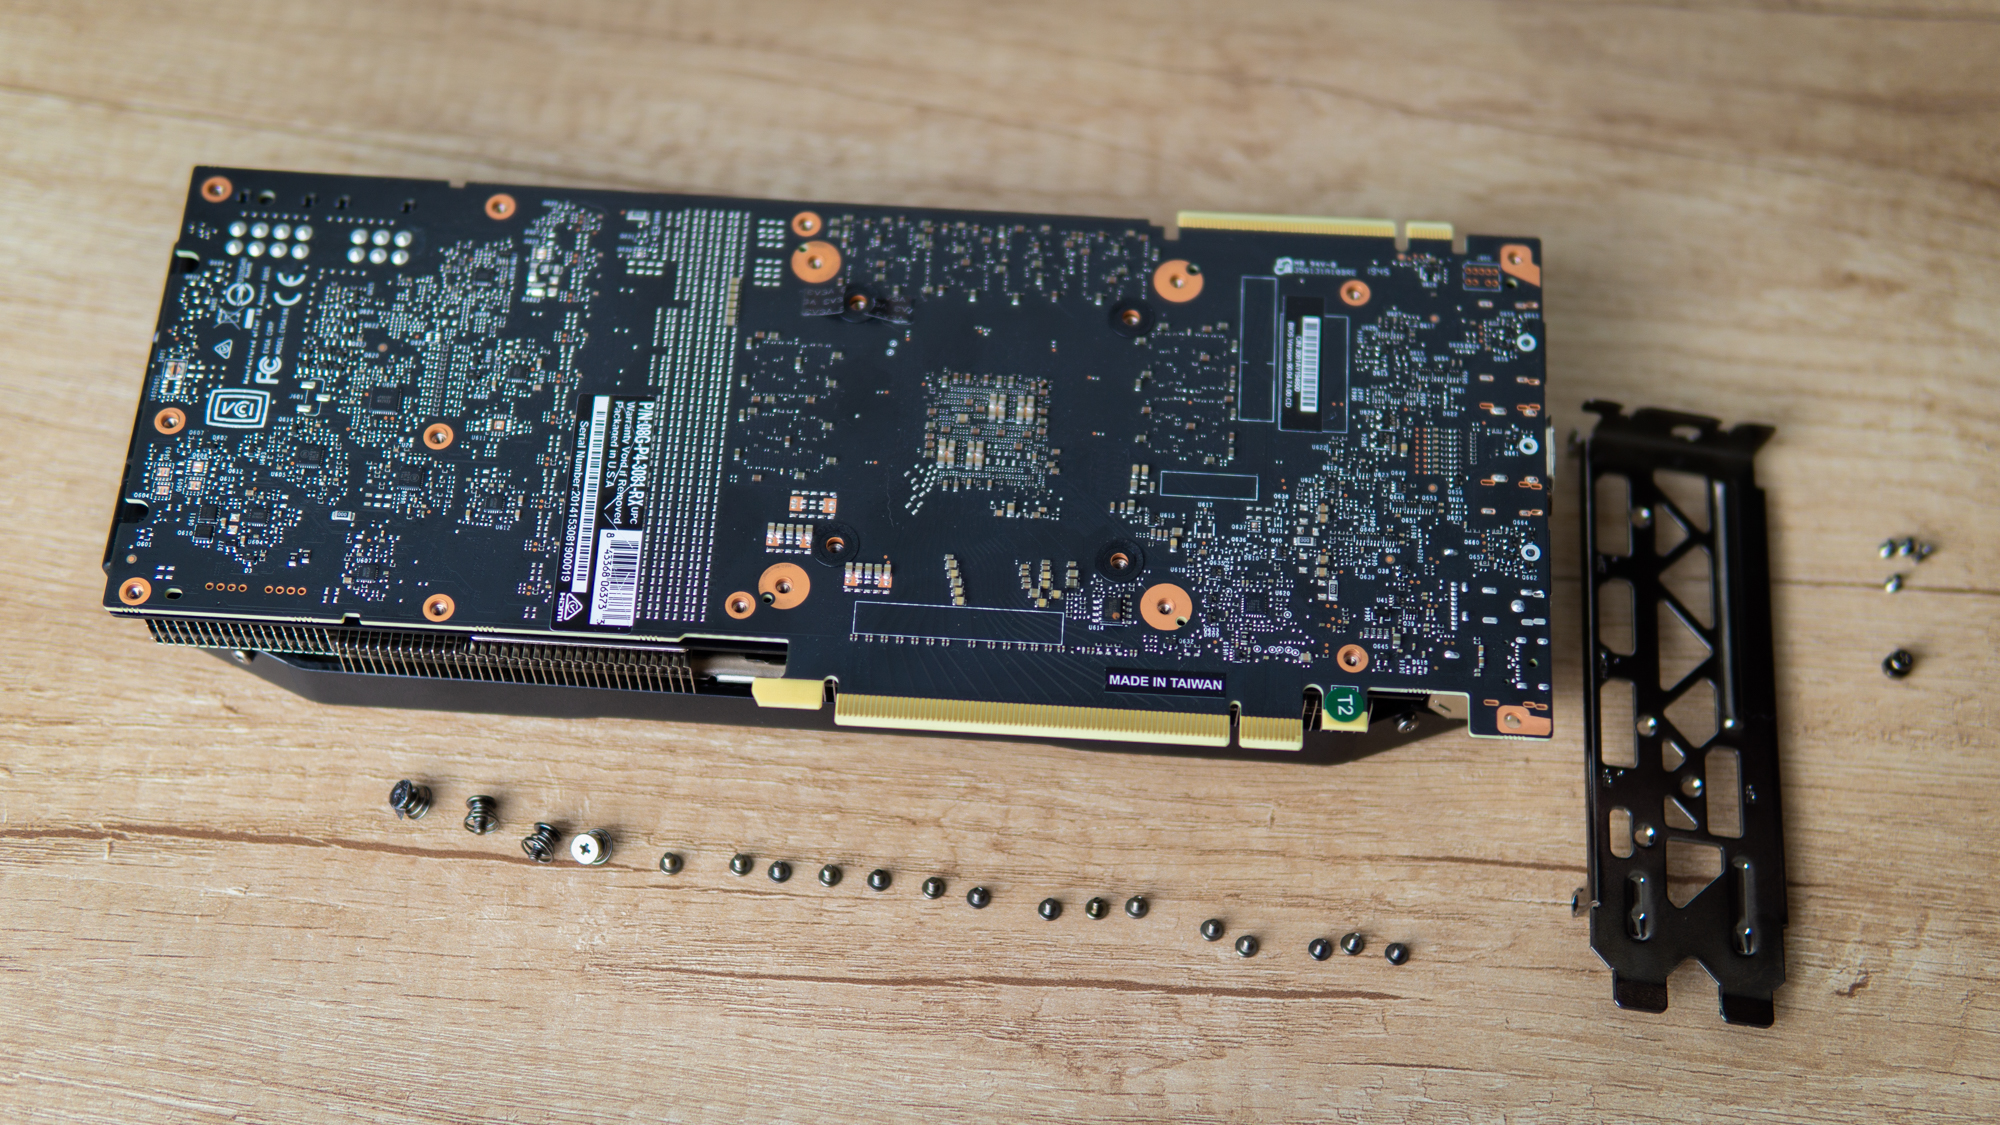
Disassembling the graphics card is adequately easy, merely you'll want to exist patient. Some things will differ from one manufacturer to another, and from one cooling design to some other, but in general, the process is the aforementioned.
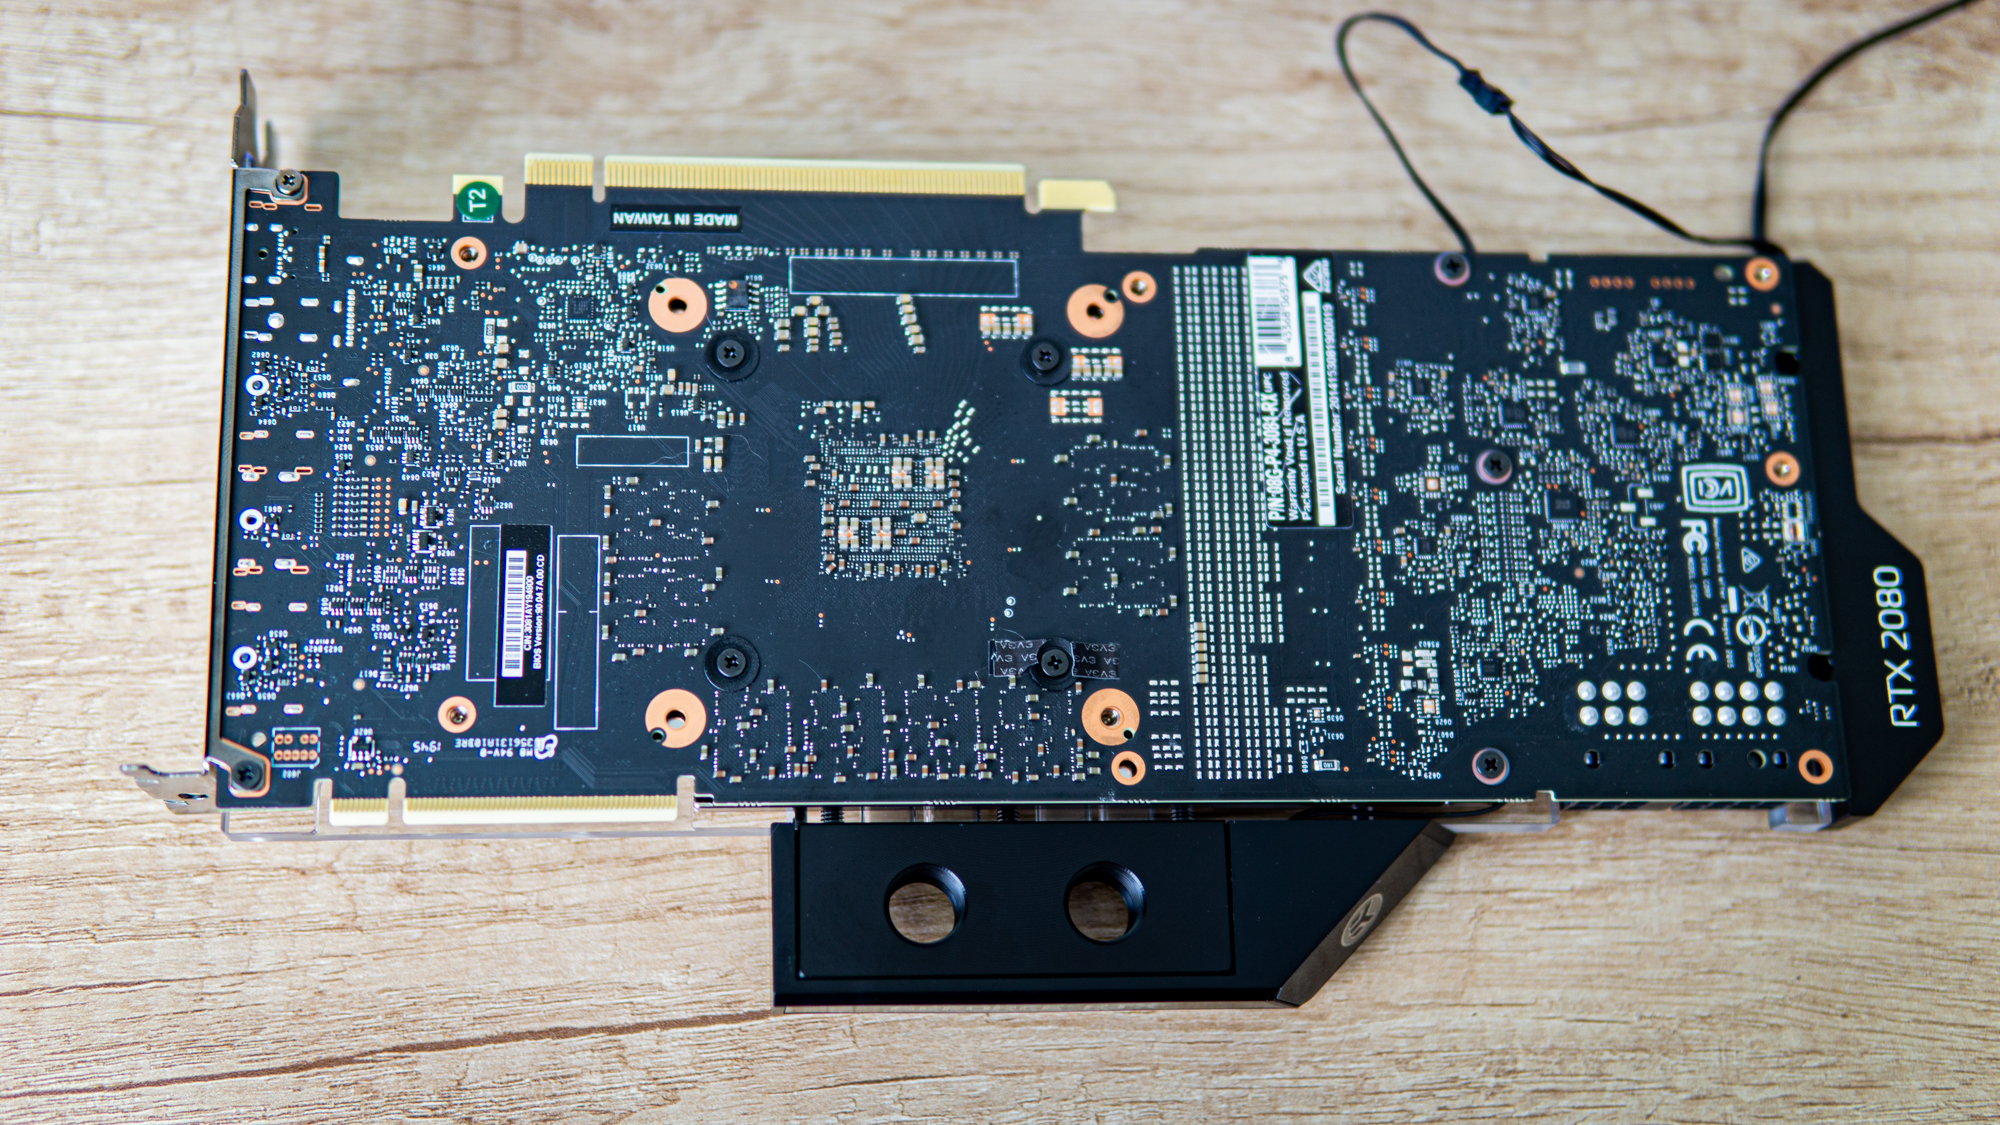
Effectually the rear of our EVGA card, there are a meaning number of tiny screws to remove, and information technology can exist helpful to remove the front I/O bracket too — for our card, a lip at the top was blocking the libation from removal, and so we detached information technology.
With the required screens removed, the cooler should pop right off, though it might need a small nudge. If information technology requires too much force, look to run into if there are whatsoever screws you might take missed. Note that some graphics cards use a grade of thermal glue that may require a bit of estrus to loosen upwards. Twist the cooler gently to the side rather than trying to pull it directly off.
Make sure you lot keep all the screws in a safe place, preferably a small plastic bag, so that you lot can go on them with the cooler in example you ever make up one's mind to put information technology back on later. When you somewhen upgrade to a newer graphics card, you may want to accept your waterblock along for the ride, and your old GPU won't work without cooling of some grade.
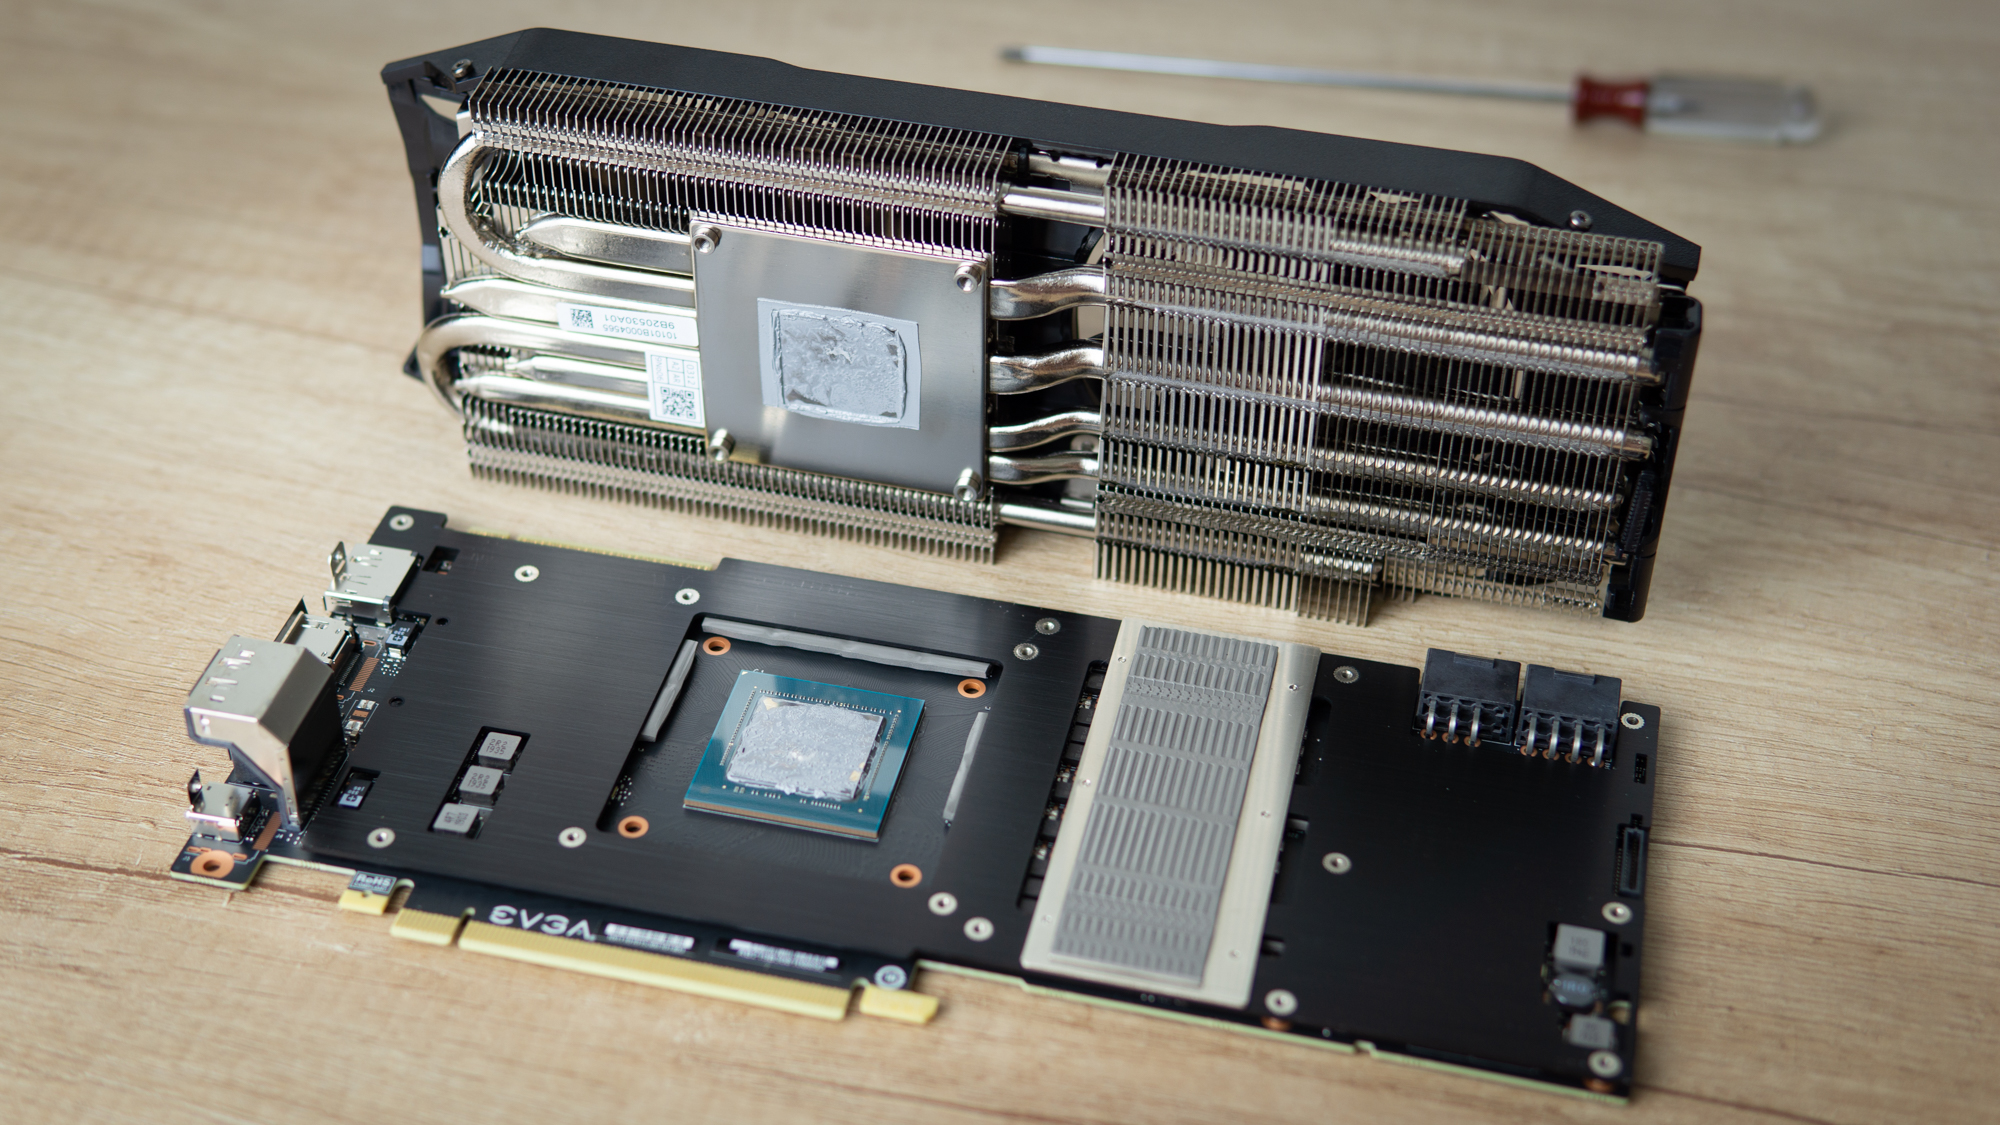
three. Cleaning the GPU
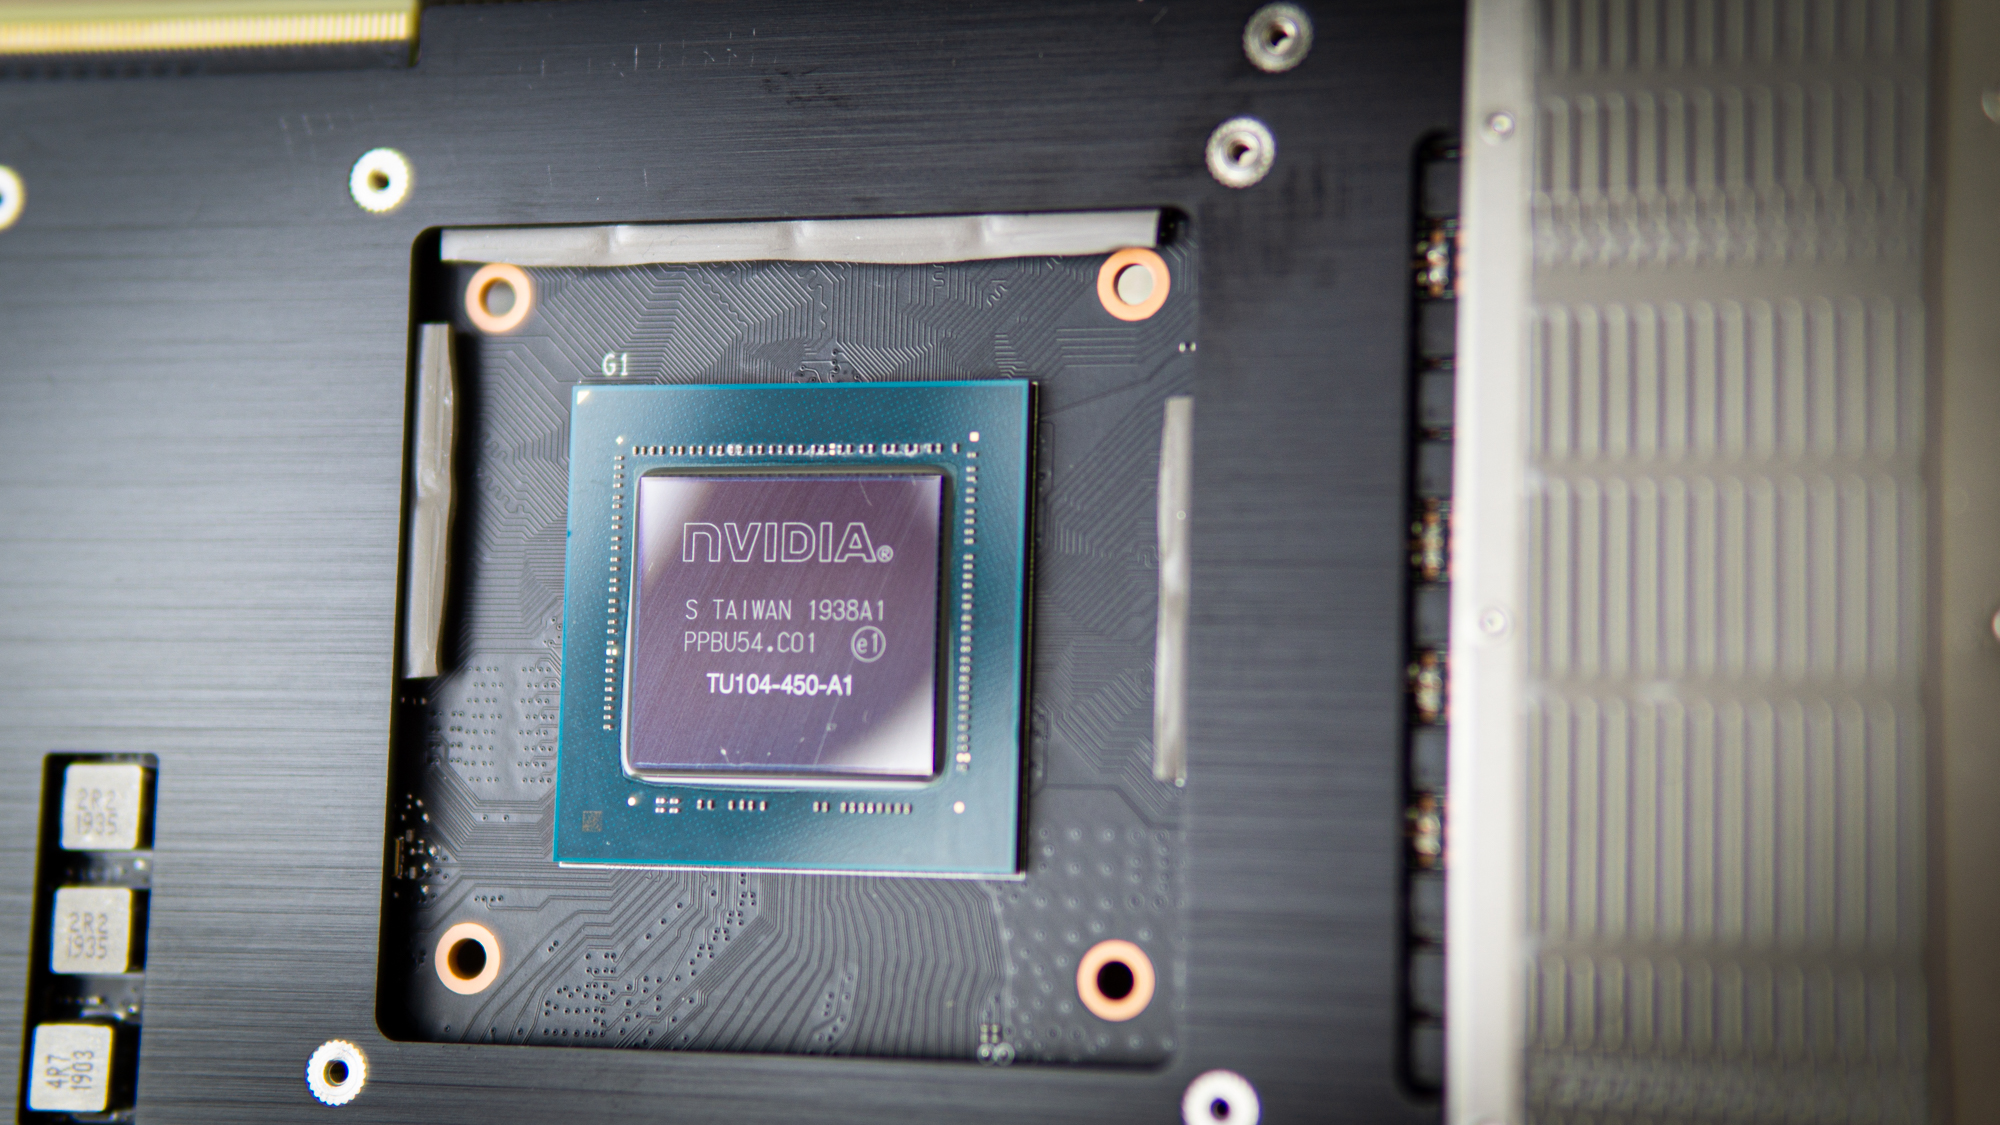
With the cooler detached, you'll likely find a mess of thermal paste. To clean the GPU, grab a lint-free cloth, 99% isopropyl alcohol, q-tips, and a toothbrush. Use the fabric and booze to remove nearly of the thermal paste from the GPU, and the Q-tips and toothbrush for the effectively work.
Take note of the electronics effectually the GPU; chances are yours won't come out as clean equally ours as nearly manufacturers apply far too much thermal paste, spreading it past the GPU. Don't worry if yous can't clean everything off the bits surrounding the GPU — the thermal paste is not-conductive and won't practice any harm, so there's no demand to get aggressive with cleaning. Just brand certain the GPU itself is immaculately clean.
If the graphics card has a cooling plate that sat between the GPU and its cooler, at present is the time to remove it. You tin also re-install the IO shield now if you previously removed information technology.
4. Take a Breather, Admire Your Graphics Card, and Tidy Up
Information technology's not every 24-hour interval that you get to witness a graphics card taken apart to this level. And now that you've cleaned it, it'due south a great time to take a breather and tidy upwardly your workspace. Get rid of the cloth and q-tips, box up the cooler and its screws, and get your liquid-cooling components ready for installation.
If you're not sure whether you bought the right waterblock, you can apace test-identify it before the side by side step to see if it fits correctly.
Information technology'south also a good moment to get the manual for your waterblock ready. It should all be quite straightforward, but the manual will show some key details for your particular GPU model.
5. Cut and Utilise Thermal Pads and Thermal Paste

Your waterblock will come up with thermal pads to cool the retentivity and VRM circuitry. The memory pads will likely exist pre-cutting, and so grab some tweezers and carefully identify them on the retentivity modules around the GPU, making certain to remove the protective plastic off each piece.
Then, cut the thermal pad for the mosfets and coils according to the manual of your waterblock, and place them as instructed.
Your waterblock volition besides come with a tube of thermal paste. It'due south probable to be of the non-conductive type (though information technology'southward worth double-checking), and then get ahead and put a small-scale amount, roughly the size of a small pea, on the center of the GPU. Don't worry almost spreading it out -- the waterblock will spread the paste out when you tighten it on.
Tip: If information technology turns out your paste is conductive, simply use information technology if you are confident you will not employ too much. If you lot're new to PC building and don't have that intuition yet, see if you lot have some non-conductive thermal paste you can use instead, equally this will ensure no damage is done from over-application.
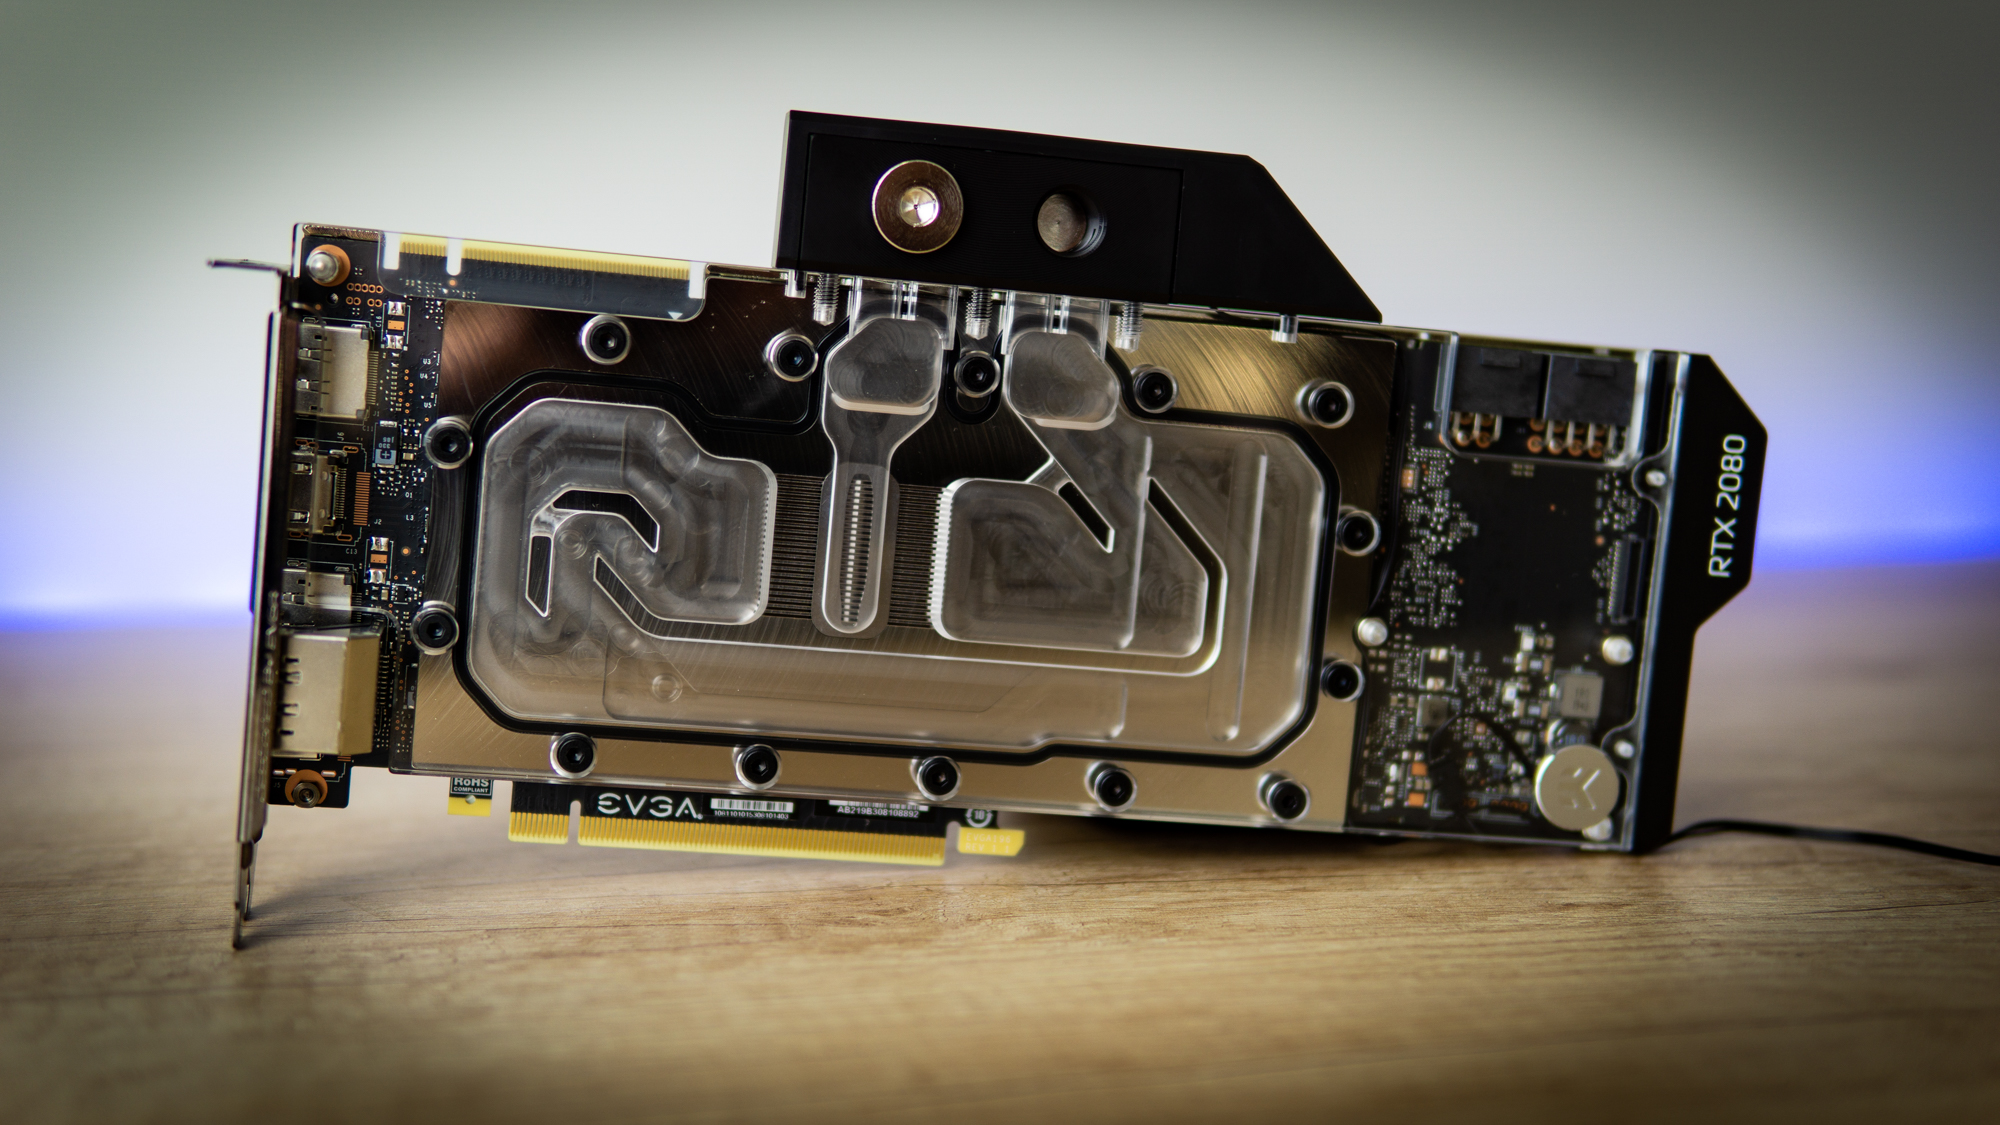
half-dozen. Place the Waterblock
Now, you're ready to place the waterblock onto the graphics card. Simply lower information technology into identify, making sure to get it as close to its intended position equally you can and so that y'all don't finish up smearing the thermal paste underneath effectually.
Once in place, catch the assembly, and place it with the IO shield over the edge of your desk, so that the graphics card is resting on the waterblock.
Now it'due south time to reinstall the four screws effectually the GPU, in a crisscross pattern. We generally kickoff by lightly installing each spiral, so tightening them downwardly in an X-pattern afterward they're in place. Don't overdo the tightening of the screws, even so, as you risk swell your GPU. Don't be also shy either, as inadequate mounting pressure will lead to disappointing temperatures.
In instance of doubt: The small screws and small-handled screwdriver yous're using (we told y'all to use a modest screwdriver, right?) will make it hard to over-tighten the screws unless you really try.
At present practise up the remaining screws to secure the waterblock onto the graphics carte du jour.
You're All Washed!
You have now successfully prepared your graphics menu for installation into a custom cooling loop. Do be sure to do up the plugs on the inlet and outlet terminals though — you wouldn't desire fluid to come spouting out of your card when filling the system.
With that piece of cake flake out of the manner, you lot're prepare for the much harder task of planning and setting up the rest of your custom loop. If that bit is intimidating to you or this is your kickoff venture into custom cooling, you lot may want to consider Corsair'due south Hydro X watercooling kit and its handy configurator page. Similarly, EKWB has its ain custom liquid cooling kits that can be a lot less expensive than buying individual parts piecemeal.
Once everything is complete, go and run the same tests as earlier and see how performance and temperatures have changed. You lot can also look into overclocking your graphics card, since it will surely be running a lot libation than before.

Source: https://www.tomshardware.com/how-to/install-waterblock-gpu
Posted by: bellaning1947.blogspot.com
0 Response to "How To Install A Corsair Water Cooler"
Post a Comment