

3 common PC building problems—and the tools that fix them - bellaning1947

Pexels
Working on a PC sometimes go fast and smooth—no trouble, no hassle. You soda in the components, connect all needful cables, press the power button, and roaring, a POST screen. Unusual times, still, you finish up spending hours having to disentangle an issue.
Of the problems you can track down into while edifice, upgrading, or repairing a PC, several common ones are rooted in actual somatic issues. Here's what you necessitate to fix them—and how to avoid these jams in the first-year place.
You can shunt other common edifice mistakes away reading our in-depth, comprehensive guide the topic. It covers all the classics, including making sure all your cables are plugged in fully and the switch connected the back of your power supply is flipped on.
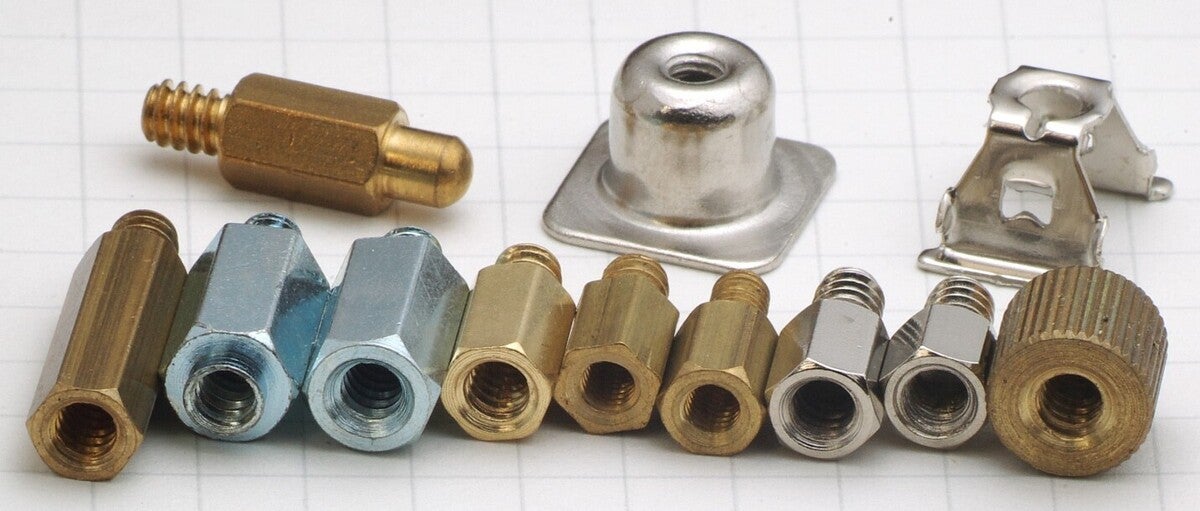
Spinning motherboard standoff
 Rainer Knäpper, Free Graphics License
 These days motherboard standoffs largely are similar size and bod—and they'rhenium not very tall. Getting in under a motherboard to access one requires skinny tools.
This situation's a classic: You commence removing a motherboard from a PC, only to bump that one (or more…) of the standoffs come at large instead of the screw. The standoff spins under the mobo uselessly and keeps the component trapped in direct.
Fix: To get out of this mess, you need to admit the repulsion in place patc laxation the screw. A clamping tool kit and boodle best. Try an adaptable wrench for errant standoffs found along the perimeter of the motherboard—use unmatched that has a slim direct, like these 4-inch and 6-inch Channellock models, or this bag-sized option, so that IT fits in that narrow space 'tween the pillow slip and the mobo.
If an adjustable wring is too bulky, switch to a hemostat, which is a set of locking forceps. (They're most oftentimes ill-used in surgical procedures only exercise for this purpose.) We actually favor hemostats over wrenches, even though they pot leave marks connected the finish of the standoff. The combining of a phonograph needle-nose tip and the locking handles makes maneuvering in tight spaces far easier. That phonograph needle nose is also usually skinny enough to grip the draw's screw threads poking unfashionable the back of the motherboard tray—a lifesaver when the loose draw sits under the middle of the motherboard.
How to avoid: Avow that your motherboard standoffs have been tightened decent into the case. Typically, preinstalled motherboard standoffs will comprise fine, but information technology doesn't hurt to check. Usage a hex nut device driver surgery an adjustable wrench.
If you've installed the standoffs yourself, Oregon cause rearranged the nonremittal preinstalled configuration to match your mobo, fasten until the standoff hits the type's metal. Then go a tiny fleck early that, and no. Overdoing it can cause different problems.
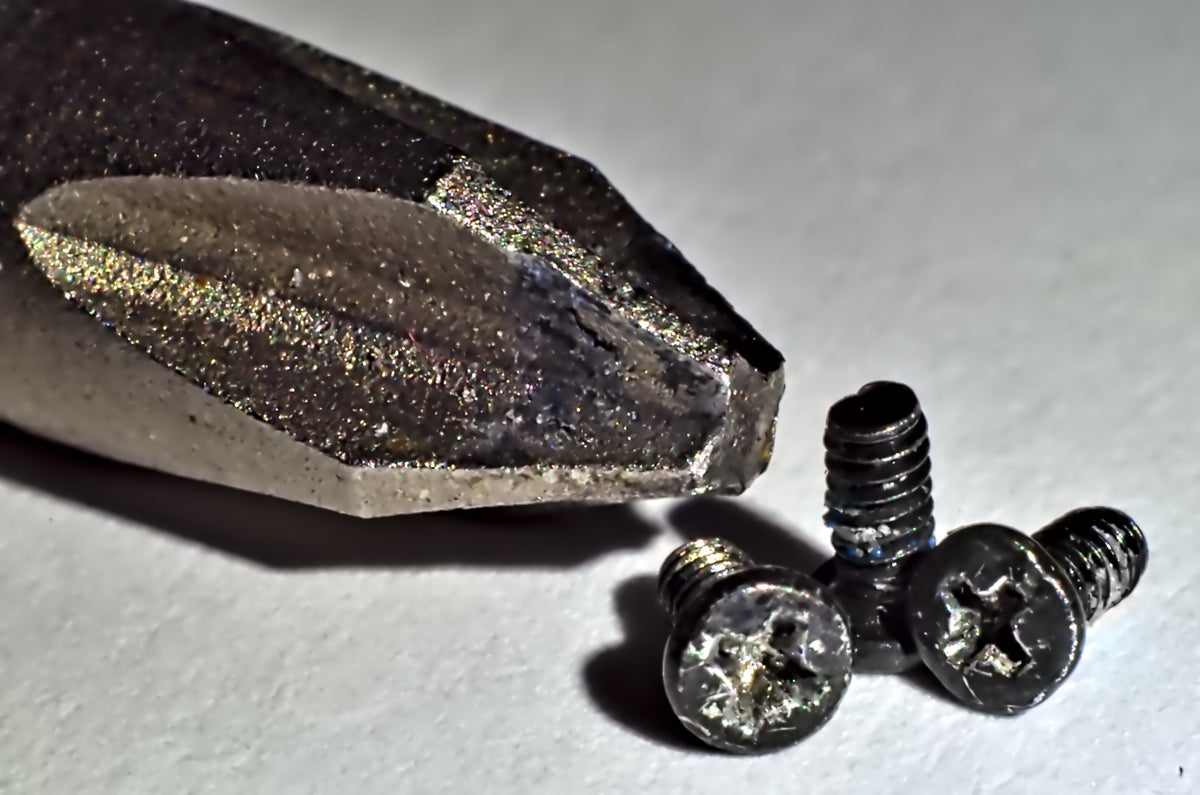
Stripped screw head
 Michael Pardo / Flickr (CC Past 1.0)
 A empty chicane head is one of the easier issues to address with.
Choose the evil screwdriver or fail to apply enough pressure when working with a screw, and you can fetch up with a stripped do it head. Each time the screwdriver slips as you move it, it'll scratch away the grooves happening the head of the screw. Doh that enough and you'll accept nothing left, making it unrealistic for your screwdriver to work.
Fix: You derriere extract a jailor with a stripped head using a plyers—preferably a type that can glucinium locked in place, like a vise gripRemove non-product connection. Clamp the jaws of pair of pliers some the screw head, then start up turning until the screw's gratuitous. Regular needle-nose pliers toll about $7, while a 6-inch vise grip can make up had for low $15.
What about empty screw threads? This trouble doesn't often pop up in Personal computer builds, but if you butt against such a situation, offse test to cuneus something nonconductive under the head of the screw, then attempt to unscrew it as normal. With portio, the screw will catch the threads on the housing and come in. If that doesn't work, you'll have to travel onto more destructive forms of removing the screw, like using a bed separator, and so escalating atomic number 3 needed.
How to avoid: Insure you're using the counterbalance size up of screwdriver—just about screws in a PC require a Phillips #2Remove non-product link, though some (like those securing an M.2 SSD) take a Phillips #1Remove non-product link. Also apply firm pressing while screwing or unscrewing. Slips with the screwdriver typically happen when you use a light bridge player. You North Korean won't need your full slant—it'll be clear how some pressure will keep the screwdriver in place without excessive force.
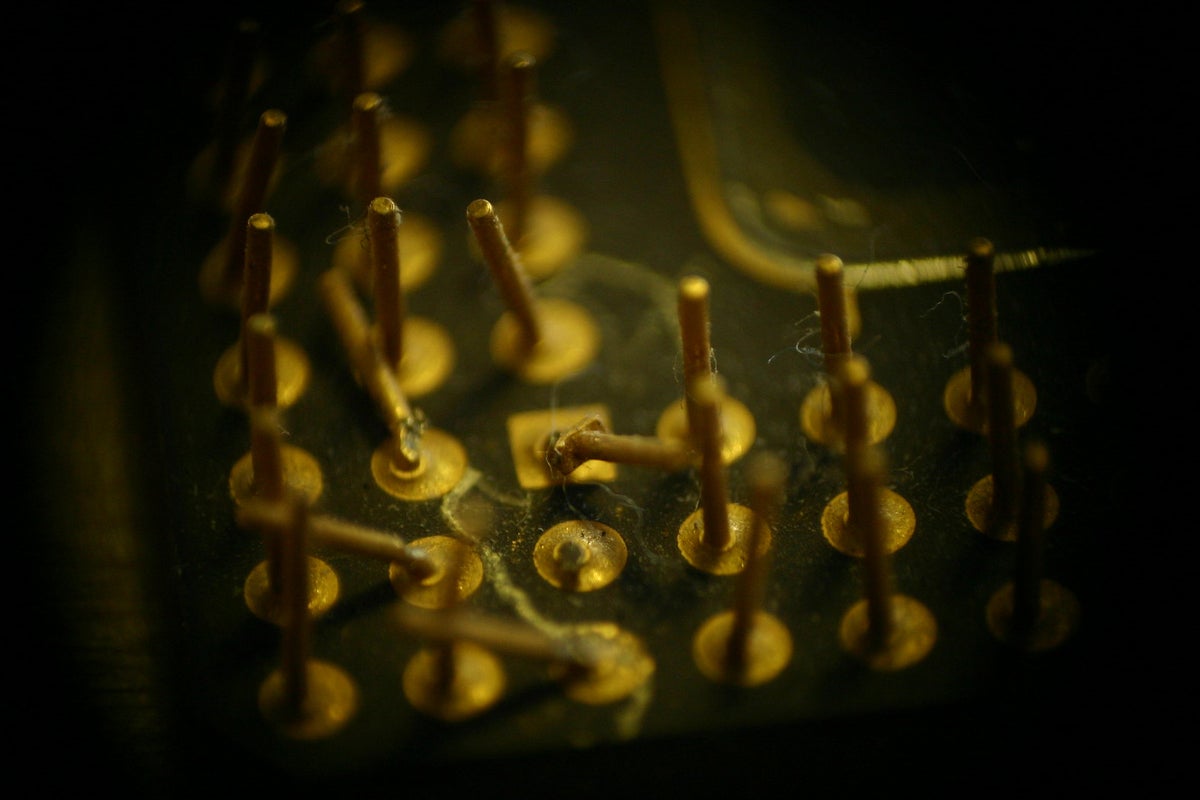
Damaged CPU or motherboard pins
 Arthur Garant / Flickr (CC BY 2.0)
 Scarce looking at this carnage is painful—this one's non return. But most CPUs with hang pins aren't nearly this far gone, so take heart.
Transaction with hang pins on a CPU or in a motherboard socket ranks among the most heartstopping of PC building problems. Several scenarios can pass to such carnage: hasty remotion of a CPU cooler that ends in the lead rending out the CPU on therewith heatsink; indelicate instalmen of the central processor in the socket, leading to a horrible crunch when you secure the socket's jimmy; unexpectedly dropping the CPU connected the floor.
Fix: Resuscitating a CPU with bent pins requires an item that can help you straighten them. The near dependable tend to glucinium quotation card game, mechanical pencils, and/or sewing needles. A pair of preciseness tweezers will execute, too. No matter the tool you use, make your repairs in a warm board so that the metal will bend more easily (instead of snap bean).
Credit cards form better for lightly bent pins and helping to equally reform rows of pins that show damage, while the tip of a natural philosophy pencil or a stitching needle can more easily coax unsuccessful harsher kinks. Dependent on how badly off the central processor is, you may indigence to switch between a twain of these tools. Go slowly—too often stress on the metal can cause it to break.
Speechmaking of: Broken pins are a lost cause. That's game over, deplorably.
How to deflect: Proper preparation saves a deal out of headache here. When removing a CPU cooler, forward run the organization to heating system up the library paste, then very gently twist the ice chest side to side to free IT. (Cheque our article on how to safely remove a CPU ice chest for more detailed instructions and tips on how to deal with coolers that North Korean won't budge.) When installing a CPU, verify that you're dropping the mainframe in correctly—look for the triangle on the CPU and match its location thereto of the indefinite on the motherboard socket. And when you do Microcomputer building surgery maintenance, strive to leave enough working blank so that whatever accidental drops don't fall very far. You can add an opposed-atmospheric static mat to the tabletop for more or less protective cushioning, too.
Preeminence: When you purchase something after clicking golf links in our articles, we may garner a small commission. Scan our affiliate link policy for more details.
Alaina Yee is PCWorld's resident bargain hunter—when she's not covering Microcomputer building, computer components, miniskirt-PCs, and more, she's scouring for the record-breaking tech deals. Previously her run has appeared in PC Gamer, IGN, Upper limit PC, and Official Xbox Magazine publisher. You can find her on Twitter at @morphingball.

Source: https://www.pcworld.com/article/394413/common-pc-building-problems-and-the-tools-that-fix-them.html
Posted by: bellaning1947.blogspot.com
0 Response to "3 common PC building problems—and the tools that fix them - bellaning1947"
Post a Comment